How to Podcast from Home
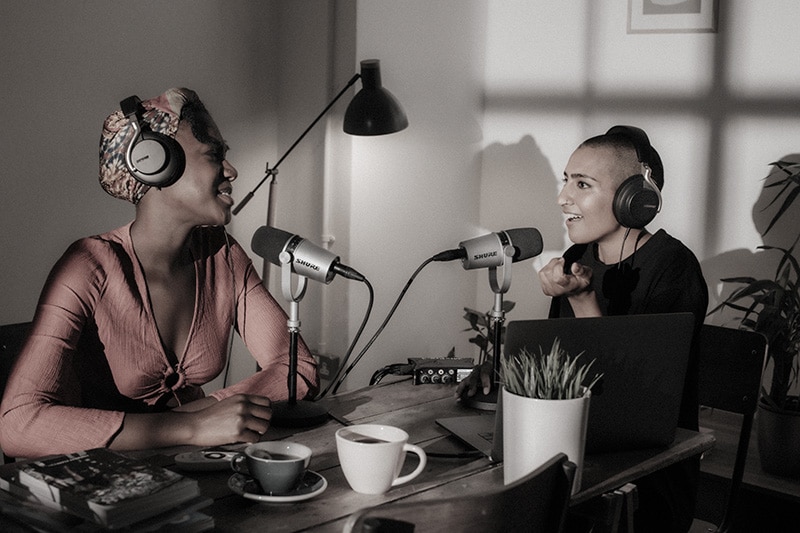
By now, pretty much everyone has heard of a podcast, even if they have never listened to one themselves. If you have dipped your toes into the podcasting world, you know there is a wide range of shows to choose from. From serious, long-form journalism pieces like Serial, to quirky conversations between friends, there really is something for everyone.
As technology continues to improve, it is getting easier to produce a professional-sounding podcast from home. How?
Well, you need a good microphone, a proper recording space, a way to record yourself, editing software, and the ability to host your show online.
Selecting the Microphone
You probably assumed you’d need a microphone to record a podcast, but what type? There are so many different options to choose from, with technical terms, like cardioid, condenser, dynamic, SUPER cardioid…it’s enough to make anyone’s head spin!
There are three main areas to focus on when choosing your microphone: the type of microphone, the pickup pattern of the microphone, and the connection type.
Microphones can be divided up into three main types: condenser, dynamic, and ribbon. Many of the popular microphones used for podcasting fall in the condenser and dynamic categories, so we will focus on those two groups for now.
- Condenser microphones have a small diaphragm that moves with the sound waves, converting them to electronic signals. Condenser microphones need power to work, usually in the form of phantom power.
- Dynamic microphones do not need external power to work. They operate by having a coil sitting inside of a magnetic field. When sound waves hit the diaphragm of a dynamic microphone, the coil moves inside the magnetic field, creating the electrical signal.
Both types of microphones have their pros and cons, but dynamic microphones tend to work best for most podcast hosts. Condenser microphones are much more sensitive—great news if you’re a singer—but may pick up on any ambient noise in your recording space.
The next thing to look at is the pickup pattern of the mic. The pickup pattern refers to where the mic is sensitive to noise. Knowing the pickup pattern of your microphone is important, not only to help you place the microphone where it can pick you up cleanly, but so that you can use the insensitive sides to help cut out unwanted noise. Have a noisy computer fan or loud neighbors? Position the insensitive side of the mic towards the unwanted noise!
- An omnidirectional microphone is designed to pick up sound from all around the mic.
- Cardioid mics, which are more common, can detect sounds from the sides and the front of the mic, but there’s a dead zone at the back where the microphone is less sensitive.
- Another popular pickup pattern is called shotgun. These have a narrow field of sensitivity directly in front of the mic. They are less sensitive on the sides, but have a little bit of sensitivity at the back.
The last important thing to know about your microphone is how will it connect to your other equipment. The two most common connection types are USB and XLR.
- USB mics can plug straight into your computer, allowing you to eliminate the need for a mixer or audio interface.
- XLR microphones connect to interfaces, mixers, and other pro-audio equipment, which means you’ll need additional equipment.
Can’t decide which one to get? Some microphones are compatible with both, giving you the best of both worlds, which sets you up for success.
So, with all of that being said, what’s the best microphone to podcast from home with?
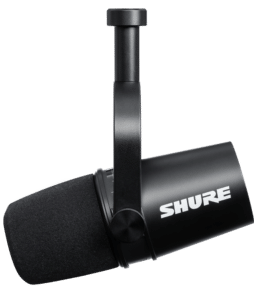
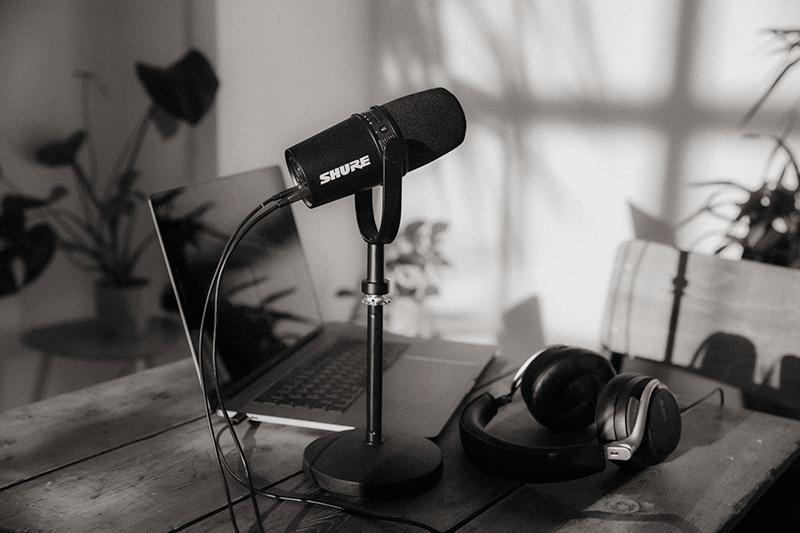
You are going to love the Shure MV7 dynamic microphone with both USB and XLR outputs for use with desktop, mobile, and professional interfaces alike. Not only is it brand spankin’ new, but it was inspired by the legendary SM7B, which is commonly known as the best microphone for recording a home podcast, a mic legend in the podcasting and live streaming marketplace.
The Shure MV7 is Shure’s first hybrid XLR/USB microphone, which is ideal for both beginner-level creators and the experienced podcaster. With its intuitive design, the microphone is user-friendly and simple to set up and control. Essentially, you’ll spend less time editing and more time making the magic happen.
This microphone features Shure’s Voice-Isolation Technology, which elevates your voice to the next level, regardless of your environment. The MV7’s pick-up pattern focuses on vocals only by bringing them to the forefront of the recording, providing uninterrupted audio every time. Typically, your vocal level and mic position fluctuate, so the new Auto Level Mode sets gains to the exact levels needed for the best-quality sound.
Forget worrying about mic technique, this baby does it for you!
Because this is Shure’s first hybrid, you also have elevated compatibility with any device or hardware. For pro setups, the XLR output works with mixers, pro-audio equipment, and those interfaces, while the USB option (USB-A and USB-C) works both for Mac and PC, offering an amazing on-the-go recording option, since the MV7 even works with select Android devices.
(Can’t decide between the MV7 and the legendary SM7B? This should help.)
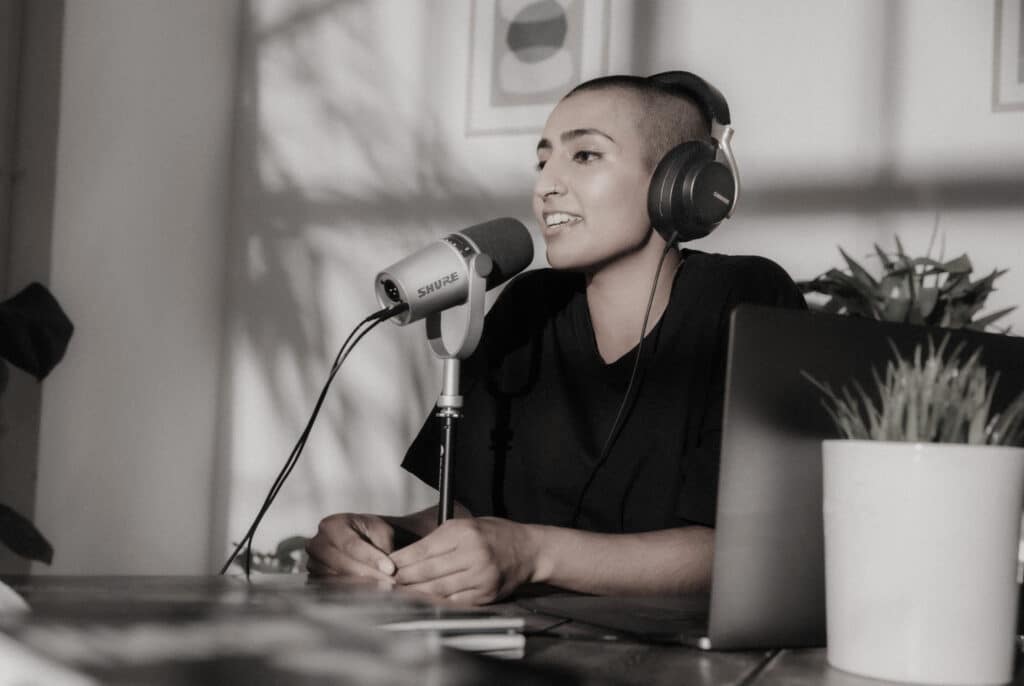
Setting up Your Recording Space
Just as important as choosing the right microphone is making sure you have a good space to record in. Take an expensive microphone into the shower and see how your recordings sound. You might sound great singing, but the recording is going to sound terrible! That’s because the sound of your voice is going to bounce around the shower, wreaking havoc on your audio. So, where’s a good place in your home to record?
The closet is a good place to start.
That’s right! The clothes in your closet will help knock down any pesky sound waves, providing good, clean audio for your recordings. And when you’re ready to move out of the closet, sound panels strategically placed around your room will accomplish the same thing.
Before you record your first episode, however, do a “test run” so you can hear what it sounds like. Listen to your environment with the mic and headphones on. If you can hear the air conditioner, traffic, the neighbor’s barking dog, or the fan on your computer, you’ll know to add a few more sound panels or move to a new location.
Recording Your Audio
You have your mic, you have a place to record, now you just need a way to actually record your audio.
Microphones with a USB output can be plugged directly into your computer, allowing for easy recording. But microphones with an XLR output won’t be able to plug directly into most computers—you’ll need to plug into either a mixer or an audio interface that can send the signal to your computer.
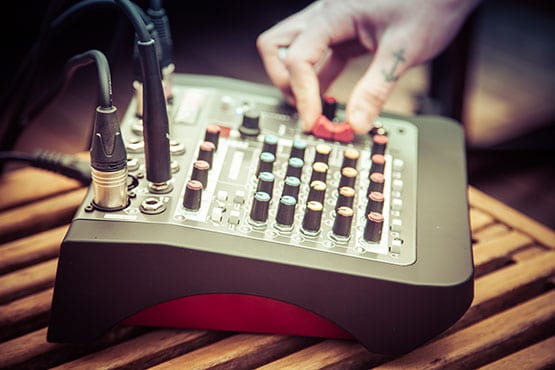
Some things to keep in mind when choosing your mixer or audio interface: How many people will be on your podcast? Do you need to accommodate a bunch of microphones, or is it just you? Does your mic need phantom power? How much clean gain does your mixer/interface offer, and is it enough for your microphone? And is there a USB out to go from your mixer/interface directly into your computer?
For many home podcasters, the Allen & Heath ZEDi-8 mixer will be exactly what is needed. The mixer offers two XLR inputs so you can have a guest or a co-host on your podcast. The board supplies phantom power and has XLR outputs in addition to the USB output needed to connect to your computer. Need more inputs? The ZEDi-10 offers up to four XLR inputs!
Choosing Editing Software
Podcasts are not live, so you’ll want to take the opportunity to edit out any mistakes. Luckily, this is very easy to do.
You’ll need a Digital Audio Workstation, or DAW. There are numerous DAWs out there, and they each are slightly different. But they all allow you to do the same basic functions: you can delete out your “ums” and bad takes, put in sound effects and music (assuming you have the rights to use them), and export the finished product in an .mp3 or .wav file, ready to be heard by your fans.
Pro Tools and Adobe Audition are two of the industry standard DAWs, offering tons of bells and whistles, but they are far from the only ones. Audacity is a free and open-source program that is more than capable of helping you get started on your podcasting adventure.
Hosting the Show Online
Hosting a podcast online used to require knowing how to manage an XML file and hosting files on your own website. Luckily, this is no longer the case!
There are services out there that will host your audio files, manage your subscribers, and get your podcast out to the major podcast hubs like iTunes and Spotify. All you have to do is upload your show, give it a title, description, some keywords, and some cover art, and the rest is all handled for you!
There are plenty of options for you to choose from. Some of the best rated services include Buzzsprout, PodBean, Spreaker, Libsyn, and Blubrry.
Conclusion
Podcasting from home has never been easier. All it takes is a good microphone like the Shure MV7, a mixer like the Allen & Heath Zedi-8, a closet, and your computer, and you too, can be the host of your very own podcast.
The hard part is going to be figuring out what to talk about!